Blog
How to build an E-Commerce website with Shopify Hydrogen V2 and Sanity
If you ever were to be asked to build an E-Commerce website for a client, what’s the first thing that comes to mind? Shopify, right? Recently, I built my first website with Shopify Hydrogen, and in this blog post, I’d like to share how to get started with that.
- Going headless: Next.js Commerce vs Hydrogen
- The main components
- Opinions
- Create a shop on Shopify.
- Install Hydrogen App
- Create a new hydrogen project.
- Start developing with Hydrogen.
- Integrate Sanity
- Deployment with Oxygen
- Conclusion
- Sources
Going headless: Next.js Commerce vs Hydrogen
When I figured out the requirements for this website with my client, I decided to use the headless approach of building this E-Commerce site instead of going with a Shopify template and some third-party apps. Don’t get me wrong: using the whole Shopify platform is great. You can ship a website fast.
But my reasons for not using it and going headless were the following:
- I wasn’t familiar with Liquid, so I’d have to learn that first to customize and enhance any theme
- The client had a custom design, which I knew I would build faster with the tech stack I’m familiar with
- I needed more freedom and more custom functionality
I researched a bit and found two possible ways to tackle this project. As a regular React and Next.js user (most recent websites I built using Next.js), one option was using the Next.js Commerce template. The other option was using Shopify’s own React-Framework Hydrogen.
My first instinct was to go with Next.js commerce. I heard a few things about Hydrogen not being used that much so far. But then I noticed that Shopify bought Remix last year, and a few months ago, they released Hydrogen V2 based on Remix! I built one website the previous year with Remix, and I liked it a lot. The concept of actions and loaders automatically clicked for me.
Besides that, Next.js Commerce felt a little too much developing on shiny and
new cutting-edge technology. Some big shops are using it, but I still wanted
to wait a bit before using the App Router and React Server Components in
production.
Therefore, I decided to go with Hydrogen, and in this blog post, I’ll document the process of building an E-Commerce Website with Hydrogen v2 and Sanity!
The main components
Here’s a quick rundown of the main building blocks for this site:
- As mentioned above, I used headless Shopify with Hydrogen based on Remix to build the front-end, query of the data and run mutations.
- I used the headless CMS Sanity to gather all the content unrelated to products.
- And for styling, I used TailwindCSS.
With these three building blocks I should be ready to go!
Opinions
The team from Sanity built a hydrogen sanity demo shop, which was a huge help to get this website going. They defined some opinions as general rules for their shop. I liked this idea a lot, so I decided to implement this as well. Here are the opinions on this project:
- Shopify is the primary source of truth for products and collections
- Sanity is the primary source of truth for editorial content
- Product pages can be enhanced with content in Sanity
Create a shop on Shopify
With the main tech figured out and the opinions formed, it’s time to dive in. First of all, you need a Shopify shop. I won’t get into detail on how to set that up because the Shopify docs do a great job of explaining this step in depth. The important thing here is you can’t use a development store when you’re building with Hydrogen.
Install Hydrogen App
After you've created your shop in Shopify, you have to add the Hydrogen App to our Shopify store if the shop is set up. This enables you to use the Storefront API. It gives you access tokens and lets you query your products and collections.
For this, you have to head over to the Shopify App store, search for Hydrogen, and install the app.
After that, you can configure it in Shopify to get your access token for the Storefront API and so on.
Create a new hydrogen project
Now, the actual developing part starts. On your machine, open a terminal and run the following command:
npm create @shopify/hydrogen@latest
It runs a setup to create a new Hydrogen Shopify website. It offers a lot of options. And if you want to, you can have a very opinionated project setup.
First, it links automatically to your Shopify account and connects to your
existing store if you’ve already set up one. You can give your shop a name,
select if you want to use JavaScript or TypeScript, and choose which styling
library you want. For me, that was TailwindCSS, so I added that directly.
Finally, you can choose if you want to have routes and more core functionality immediately set up.
Start developing with Hydrogen
With the project setup, you’re ready to start developing with Hydrogen.
If you’ve chosen the option to have pre-configured routes and core functionality, you will notice that you have an almost complete functional shop ready to run. That’s amazing!
The Shopify team set everything necessary, like fetching collections and recommended products, creating product detail pages, adding products to the cart, searching the page, account management, and more! Wow!
I think that’s pretty awesome. They are the experts in building web shops, and they know what basic functionality every shop needs. So why not prepare it already in the best possible way? This made my job much easier, and I was very thankful.
So, with the essential building blocks set up, now is the time to tweak your shop the way you want it to look, implement your custom design, add more functionality, and adjust it to your needs.
Integrate Sanity
After finishing everything Shopify product and collections related, it was time to integrate Sanity as a headless CMS for the editorial content as stated in the Opinions.
First of all, I installed hydrogen-sanity, which adds a Sanity Client to the Remix Context. The Sanity team did a great job building this integration, and it’s cool that these products are so intertangled.
npm i hydrogen-sanity
Hydrogen-sanity enables you to fetch content from Sanity in Remix actions and
loaders using their query client. It also allows you to have a live preview.
After the installation, follow the Readme to update your server.ts and set
up the ENV variables.
Now it’s time to install and run Sanity. There are multiple options available.
You can either get started with a clean template. Or you can choose to use the
Shopify template, which means already pre-configured schemas for
everything you might need for a Shopify store.
npx sanity@latest
You can take another optional step when working with Shopify and Sanity. You can install the Sanity Connect app in your Shopify Store. This app enables you to sync all your products and collections to Sanity.
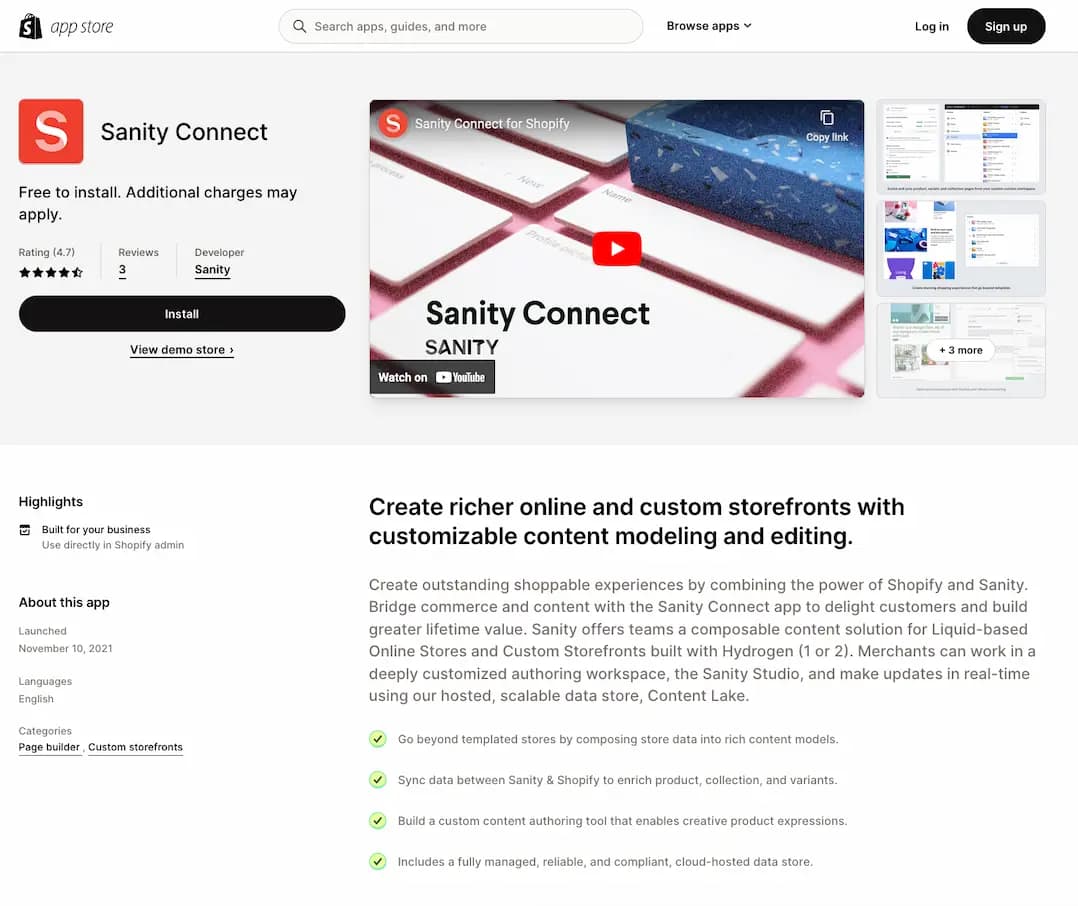
In Sanity, you can then enrich the content for your product and collections pages. You can also reference your products and collections on every Sanity page, which is a fantastic feature!
Deployment with Oxygen
When you’re done developing, Shopify offers the opportunity to use their hosting service, Oxygen, for free. To get that up and going, you only have to connect your Hydrogen App in Shopify with your GitHub Account.
Shopify will then open a Pull Request, which adds a yaml file with the
deployment instructions. After that, every git push triggers a deployment. It
could not be easier to deploy your store!
Conclusion
So these are the steps you have to take to build an E-Commerce website with Shopify Hydrogen and Sanity. I liked the process a lot. The documentation is excellent. Additionally, the Hydrogen Sanity Demo was a perfect example to have a sneak peek occasionally and use that as a guideline.
I also liked that you can get a lot of core functionality pre-configured, like routes, handling and adding products to your cart, and so on. This speeds up the process of building an E-Commerce website by a lot. For my next shop, I’ll definitely use this stack again!
Sources
I hope you enjoyed this post and learned something new. If you have any questions, feel free to reach out to me via Email.
If you want to support me, you can buy me a coffee. I would be very happy about it!
☕️ Buy me a coffee ☕️I wish you a wonderful day! Marco